What exactly is an audio compressor, and how does it work?
An audio compressor is a device that creates a more leveled tone to your sound by amplifying the audio in some places, normalizing it in others, and toning down the loud bits.
The goal is to create consistency through the entire piece you’re working with to have a smooth listening experience.
If your sound jumps around too much, it’s awkward to listen to. You want to give it a rich tone without over saturating some parts or squashing the personality out of it.
Why Use Audio Compressors?
An audio compressor is useful whether you are in the studio or playing live on stage. When you’re building a track in the studio, all the audio levels may not be even.
Say you’re a band, and each instrument lays a track. If one component drowns out the others, there’s no sense of balance, and the piece will be tilted to the louder noises.
What you do is equalize and adapt the noise levels so that they play in harmony with one another, and you create a finished product that offers a consistent listening experience.
Here is where the audio compressor comes in. It takes the signals and makes sure that the loudness is consistent and normalized throughout the track.
On the other hand, if a band is playing live on stage, an audio compressor comes handy to normalize the sound’s dynamic range before sending it to the amplifiers and speakers. You don’t want to have abrupt changes in the audio levels from low to high or vice versa.
By using a compressor, your sound will be smooth, delivering a professional sound experience to your audience.
What is Dynamic Range, and Why Does it Matter When Using Compressors?
Dynamic range refers to all the peaks and valleys of your sound signal. Now, compare the difference between those peaks and valleys. That’s your dynamic range.
Okay, so in audio, the dynamic range basically looks at your loudest and quietest areas, and within those points is your dynamic range.
The compressor deals with the peaks and valleys to determine when to normalize abrupt changes in audio levels. Depending on the compressor’s control settings and the audio signal’s dynamic range, the results will vary.
Signal-to-noise ratio is a fancy way of saying it. You want the sound to be undistorted. Have you ever gone to a loud concert, then tried to talk to your friend? The level of sounds (your voice and the massive concert speakers) don’t match, so you have to yell over the music to be heard. Your voice is the signal, while the speakers are the noise.
In the audio world, we use compression to deal with sudden volume changes so that they are normalized and more comfortable to listen to. How loud can you bring the noise up without losing clarity and causing distortion?
An audio compressor has multiple sections you need to understand. By looking at each of these briefly, you’ll become more familiar with the terminology, along with seeing what each does to help your live sound or recording. The cool part is that you can change things and how the sound comes across by adjusting different controls.
Get to Know Your Compressor’s Controls & Parameters
Input Gain
Input gain controls the volume level of your incoming signal. When you compress your audio, it changes the volume and makes it lower.
Threshold
When this is set, it creates a standard to follow. If the level gets louder than where you’ve set the threshold, it will be compressed. If it doesn’t reach that point, it doesn’t need to be compressed. So overall, the compressor will look at the peaks we spoke of earlier and bring them into the range you’ve set.
The threshold is measured in dB (Decibels). Let’s say you set the threshold to -24 dB if the incoming signal goes above that, the compressor will attenuate the signal to the ratio you have selected.
Compression Ratio
This determines how much compression will be applied to the signal. When the ratio is equal, nothing happens, but as the ratio starts to change, it reads the amount of compression it needs to fix the problem. So, the bigger difference between numbers, the more compression will take place. For example, a 1:1 ratio won’t react. But a 4:1 signal will.
The compression ratio is also expressed in dB (Decibels). It tells you how much the signal will be compressed if it goes over the threshold level.
For instance, let’s say that the threshold level is set to -24 dB and the compression ratio to 4:1. If the audio signal goes 4 dB above the threshold level, it will be attenuated down to 1dB above the threshold. In this case, the compressor will output a signal that’s about -25 dB.
Another example lets say that the ratio is set to 2:1. If the signal goes above the threshold by 2dB, it will be attenuated down to 1 dB.
Universal Audio manufactures some of the best compressors in the market. Here is what they have to say about different ratio settings. A ratio up to 3:1 is considered moderate compression, 5:1 is a medium compression setting, 8:1 or more is regarded as strong compression. Anything above 20:1 is going to work as a limiter instead of a compressor.
Attack Time
Attack, what? Attack time. How long is this going to take? That’s exactly what it’s about. It’s about the length of time it takes to compress your signal, and how quickly it will react.
Release Time
How fast will it snap back after it’s finished? So, your volume went up too high, your noise peaks, and compression kicked in since it was over the threshold. Release time is about the amount of time it takes to “realease” and go back after that compression took place.
Knee
The knee sets how gentle or strong the signal is compressed. It’s divided into Hard knee, which is fast and direct, and Soft knee that is gradual and smoother. Think about a rollercoaster. Is it a straight up and down ride, or are they more rolling hills with gradual inclines and declines? A hard knee creates that fast up and down, and a soft knee creates the gently rolling hills.
Output Gain
Was the signal overly compressed? This “make-up” gain lifts the level back up when it went too low.
For example, if after a bass signal is compressed, the volume is too low when compared to the rest of the mix, the output gain is used to boost the signal so that it matches the rest of the mix.
Types of Audio Compressors
Tube

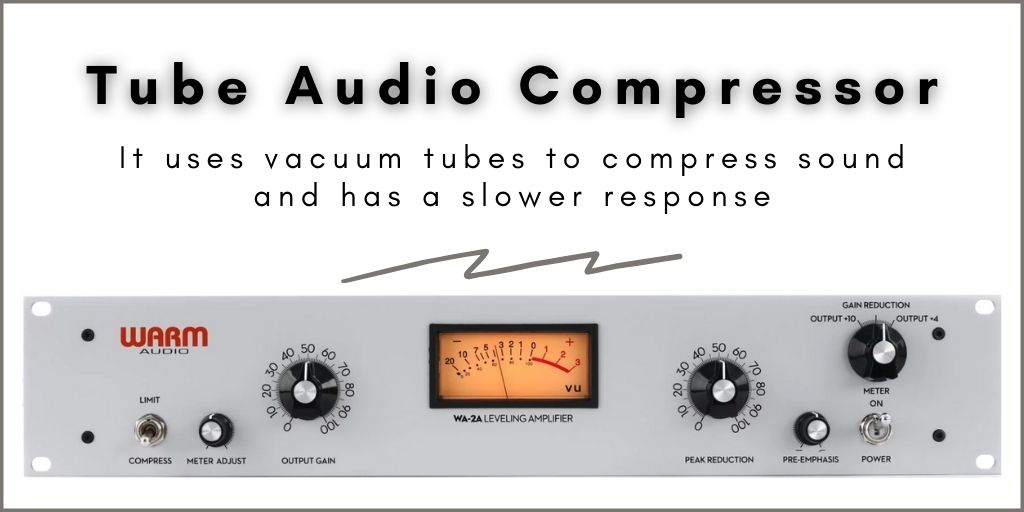
Tube compression is the granddaddy of compressors, something that both the Beatles and Motown relied on. As technology advanced, methods changed, so today, this has more of a vintage sound to it.
You’ll also hear this referred to as variable Mu. It works by how loud something is, then smooths it down. This has a slow attack time.
Optical

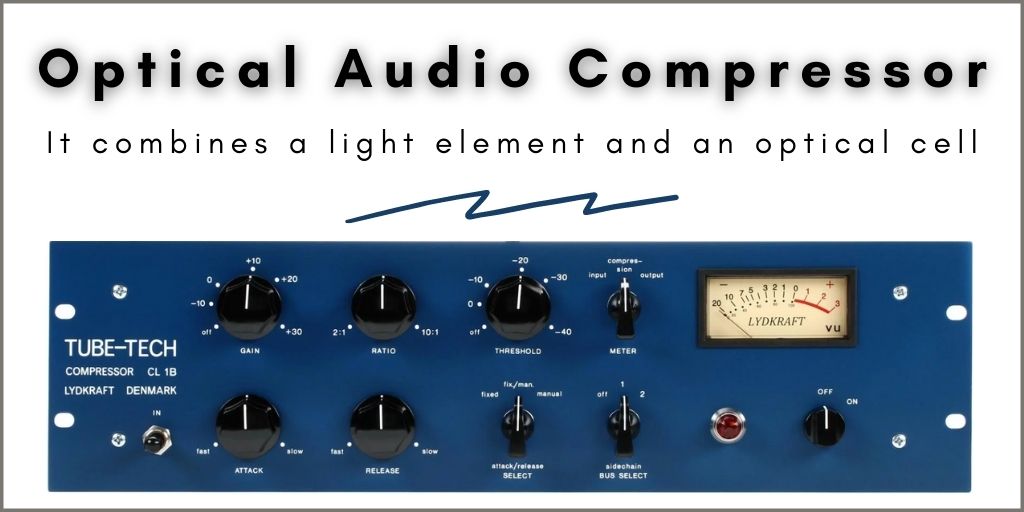
This combines a light element and an optical cell. Remember our talk about peaks and valleys? In this instance, the higher those peaks, the more the light responds, which creates a compression reaction in the optical cell. While the light aspect reacts very quickly, the cell is slower and smoother.
FET

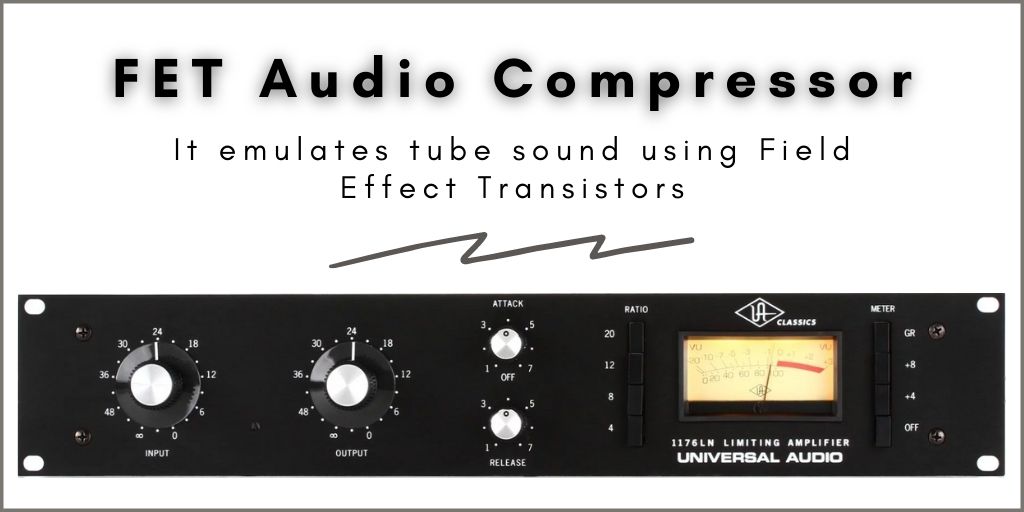
FET stands for Field Effect Transistor. This works with the electrical element of the sound. There’s voltage and electrical charges, and it adapts the gain based on this overall component. What’s interesting is that the higher the voltage, the less resistance there is. This, in turn, reduces the gain. The history of FET came about as they started phasing out the large tubes, which meant smaller audio compressors.
VCA

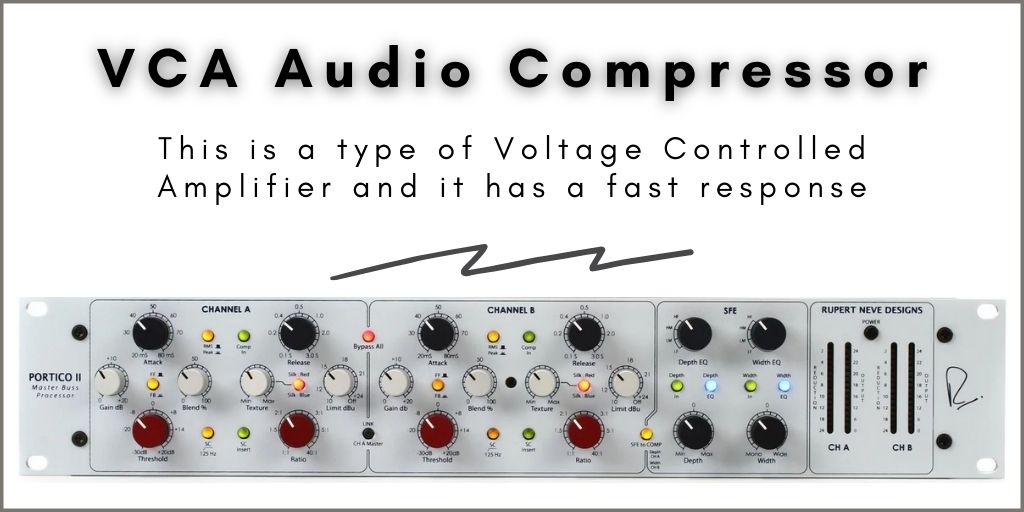
VCA stands for Voltage Controlled Amplifier. Similar to FET, the difference is that this works with a circuit, while the FET works with the entire electrical field. This is more to tackle your peaks. Optical will offer you a smoother response, and this isn’t as popular as a choice for averaging out your sound or track.
Tips for Using Audio Compressors
- After understanding what each control means and what it does, start playing around with different settings until you can hear how each parameter affects the sound.
- It’s never a good idea to apply excessive compression to audio tracks weather you are working in the studio or playing live on stage. Be mindful and apply compression only to the channels that really need it and not to the entire mix, unless it’s really necessary.
- Keep in mind that as the dynamic range of sound changes when compression is applied, the timbre and tonal characteristics of instruments and vocals will change. This is why we stress out not to apply excess compression.
- Some audio mixers offer a one-knob compressor system to simplify setups in live events. If you are using this function on your mixer, make sure to get used to how it reacts with different sound sources. These compressors don’t have any parameters that you can change. They tend to be more linear. Spend some time getting used to it so that you know when to apply it if needed.
Few Helpful Pointers for Newbies
When you’re starting out, it’s easy to get bogged down into over reading and thinking you need to do it all at once. Instead, find something that works for you, at the level you are or one step up that you can grow into. Understand the fundamentals of how each thing works and why.
Consider the sound you’re hoping to achieve, whether it’s for vocals or musical instruments. There aren’t any right or wrong answers—it’s simply what sounds best to you and what you want your final output to sound like.
It comes down to the dynamic range, how you want it to sound, and what kind of personality you want your piece to have.
Final Thoughts
Wow, that’s a lot of different information all at once, right? Knowledge is good, but it doesn’t mean you need to jump in with both feet and invest in tons of equipment for each type of sound you’re working with.
What it means is that you understand there are different things used in different ways. You’ll start to recognize that terminology the more you hear it talked about.
What’s awesome about this is now it won’t sound like a foreign language when somebody talks about knee, and you’re looking down at your leg. You understand what attack time is, and you’re not thinking about a quarterback getting sacked on the football field.
The more you learn about audio, the more familiar the terminology becomes. Soon it will be second nature, and you’ll find yourself using these phrases without thinking about them.
You can keep it as basic as you’d like, or geek out on this stuff as much as it suits you. If you read this and get a little overwhelmed, step back, take a deep breath and remember, it just has to sound good. You don’t need to sit down and take an exam on the terminology and what it all means.