Expert use of audio compressors and limiters is what sets a pro-level mix apart from the rest. Whether you are working in the recording studio or mixing live sound, knowing how best to utilize compressors and limiters is vital.
While they are somewhat similar and related to each other, they both perform vastly different functions as tools in your mix arsenal.
Do you find yourself wondering about these differences and the best application of either tool? We’ve compiled a handy guide. Read on for more information!
Ratios
The most important difference of note between a compressor and a limiter is how they handle ratios. But what are ratios?
Audio levels are measured in decibels (dB). In audio compressor terms, a ratio is expressed by “decibels in” to “decibels out.”
When using an audio limiter or compressor, the first step is to set the threshold, which is the point at which the device will kick in and attenuate your signal.
A 4:1 ratio on a compressor means that for every four decibels above the compressor’s threshold, it will output one decibel. The higher the ratio, the more the volume of the signal is reduced.
Limiters have ratios that usually approach infinity to one. In simple terms, this translates to your audio signal hitting a brick wall and stopping instead of getting “smoothed” out like a compressor.
To sum it up: a ratio “squeezes” the volume peaks of your signal down and makes the louder parts quieter. A limiter is much more aggressive than a compressor in this regard.
Different audio sources are best suited to different levels of compression and different genres of music. A soft indie rock vocal won’t require massive levels of compression, while a driving rock bass guitar might benefit from a limiter.
Makeup Gain
After the volume peaks are tamed by adjusting the threshold and ratio on either your compressor or limiter, you might find that your overall volume has gone down.
This is where the gain knob on your audio compressor or limiter comes into play. Makeup gain raises your signal back up to a good level and will also cause your vocal or instrument to sound much more consistent in volume.
Think of the threshold as the ceiling, and gain as the floor. If you raise your gain and lower your threshold, your signal’s dynamics will be squished into a smaller range. This will increase the perceived loudness of your mix.
Dynamic Range
By working with the ratios, gain, and threshold, you can play with the dynamic range of any recorded vocal or instrument.
Dynamic range is the “spectrum” of volume your signal has. Certain genres of music and instruments benefit from more or less dynamic range.
For example, a hard rock vocal run through an audio compressor may have a high ratio, low threshold, and high makeup gain, to make even the quieter parts of the vocal sound as loud as the loudest parts.
The hard rock song likely has a fairly limited dynamic range. This is a stylistic choice to make the song sound aggressive and in-your-face.
On the opposite side of the spectrum, orchestral music generally has a very wide dynamic range to capture all the instruments’ nuances and score.
Attack and Release
Another major difference between audio compressors and limiters is how the attack and release works.
Attack is basically how fast or slow the compression/limiting will kick in. A faster attack will clamp down on transients (such as a snare drum hit), while a slower one will let the initial transient through while compressing the signal afterward.
Release is the inverse: how quickly the compressor or limiter will stop working and “release” the signal.
Limiters will generally have a significantly faster attack and release in comparison to compressors. This is because of how each device is intended to be used.
What Does An Audio Limiter Do?

While limiters and compressors are fairly similar, their primary functions are very different.
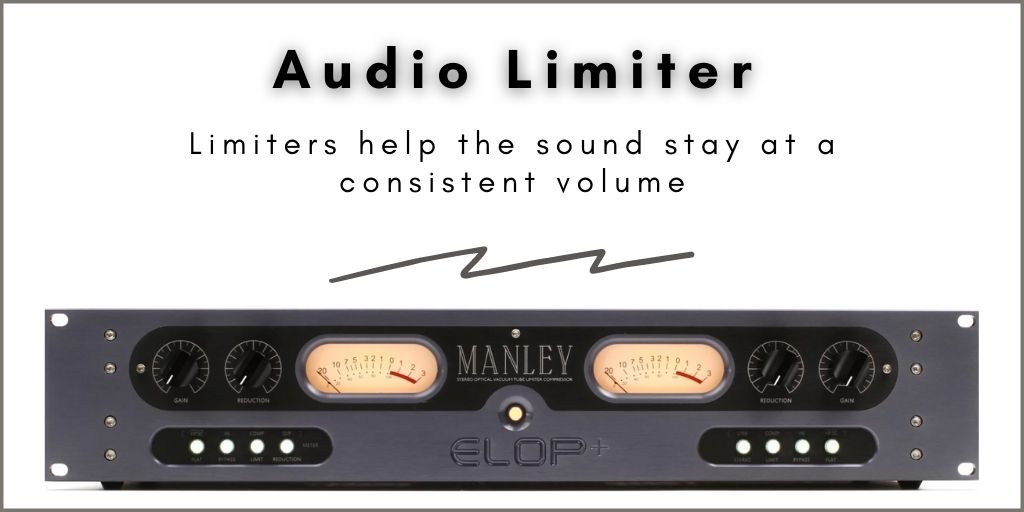
The “brick wall” effect of a limiter is often used at the “end” of a mix, after the rest of the instruments and vocals have been processed with compressors, equalization, and other effects.
Limiters are used mainly in the mastering process. This is because the “brick wall” effect of a limiter works really well for the very last step in audio mixing. Limiters also help every track on an album stay at a consistent volume.
You can set the limiter’s threshold to a specific target value (such as CD levels or streaming services), then use the makeup gain to adjust the final dynamic range of the song.
Too much limiting can completely ruin a mix, however. The infamous Metallica album “Death Magnetic” is known mostly for being a casualty of the “loudness wars,” pushing commercial music to be louder than the competition through limiting.
Aim for a reasonable dynamic range for the genre and creative vision of the project. Remember that many digital streaming platforms also apply their own limiting to keep every track at the same volume.
What Does An Audio Compressor Do?

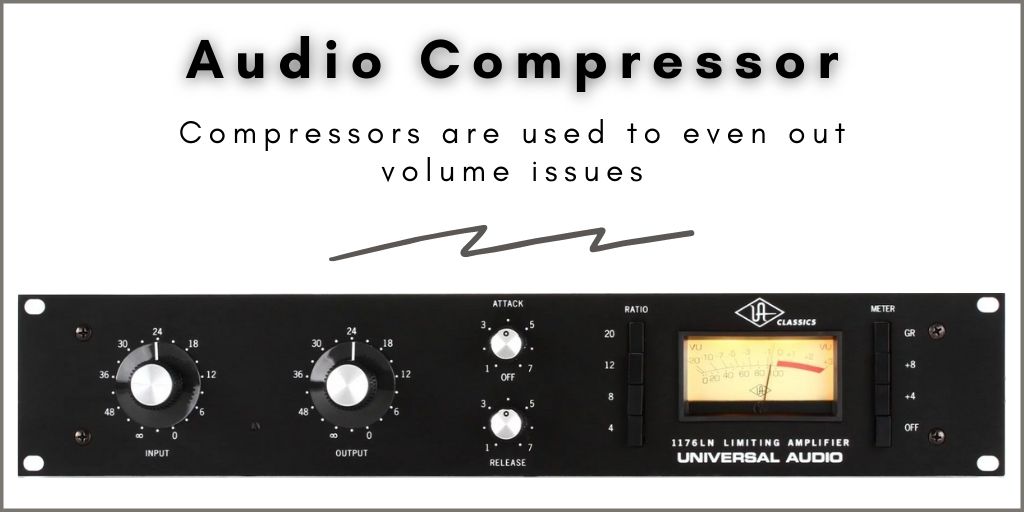
Compressors are primarily used on individual tracks to even out volume issues and shape their “character.”
Snare drums are an excellent example. Even the best drummers don’t make every single snare hit at the exact same volume.
By applying compression, you can “even out” the snare drum volume and make even the super-quiet ghost notes pop out, while the rim shots won’t blast the listeners’ ears.
Furthermore, using the attack and release knobs, you can also shape the snare’s sound by allowing the transient hits and the resonance of the drum shine through in different ways.
And finally, there are various types of compressors that impart their own tonal qualities onto your tracks and have different features. Master mix engineers have an entire armada of compressors.
This is because compression can be “layered” onto instruments or groups of instruments, instead of using the same compressor for every single instrument and vocal track.
The Final Word
When you are mixing audio, you will likely find yourself using compressors much more often than limiters. Limiters are best suited for the mastering step, which is generally considered a specialized area of audio mixing.
However, at the end of the day, use the tool that is best for the job. If you’re just getting started with recording and mixing, check out our guide on home recording setups.