Do you have a voice that needs to be heard?
The podcast is one of the newest and most exciting forms of entertainment, allowing anyone and everyone to talk about their passions, interests, and opinions in front of the world. If you have something to say, you need to join the podcasting revolution.
While podcasting is low cost, there are some items you will need, and some you may wish to add to make your podcast more professional. Read on to find out our essential equipment list when wondering how to start a podcast.
How To Start a Podcast
Before we dive into the equipment setup, let me tell you that you don’t need to have a professional setup or make a significant investment to start a podcast. You can even use your smartphone to begin.
But after proving the concept, you may decide to invest in some equipment to make your podcast more professional as you grow. Make sure to get the right equipment.
The amount of equipment you need will depend on the type of podcast you plan to make. If you are alone, then your setup can be relatively modest, and you can choose to upgrade later to enhance the audio quality.
However, if you start to go out into the field or have multiple guests on your podcast, you may need a larger setup and more money.
This is What You Need to Start a Podcast
Here is the list of the essential equipment you need to start a podcast:
- Laptop or Desktop Computer – we are asuming you have one
- A microphone – USB or XLR
- An audio interface or Podcasting Mixer – not necessary if using a USB microphone
- Headphones
- Broadcast Microphone Stands
- Handheld Portable Recorder – for a portable, mobile podcast recording setup
- Sound treatment and proofing
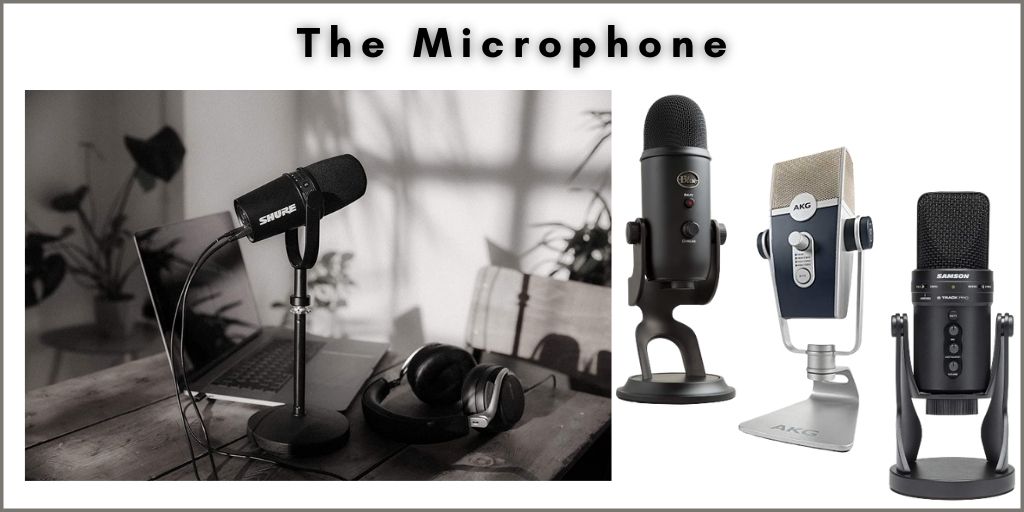
A Microphone

The microphone is the device that will pick up your voice during the podcast and relay it to the computer. Of all the podcasting gear you purchase, this is the most important, and you should opt for the best microphone that your budget will allow.
A cheap microphone will make your voice sound thin, tinny, and have too many mid frequencies when recorded.
The best ones will have low sensitivity, so they are not picking up background noises.
Condenser Vs. Dynamic for Podcasting
The most common types of microphones are dynamic and condenser. Both have their advantages and disadvantages.
A condenser mic delivers crisp, studio-like audio quality that is very detailed, picking up even the subtle nuances in the voice. That could be a problem if you are recording in a noisy environment.
On the other hand, the sound delivered by a dynamic microphone is smooth and mellow, with reduced high frequencies, and not edgy. This microphone type is better at rejecting noise from the environment because the membrane is less sensitive than condensers’.
Many professional podcasters like Joe Rogan prefer using dynamic microphones as the sound produced is radio like, and they are best suited for podcasting. Dynamic mics will require you to speak directly into the microphone.
Which Type of Connection, USB, or XLR?
USB microphones allow direct access to a laptop without needing an audio interface or audio mixer. Internally, they have the necessary circuitry to digitize the sound and send it in a digital form to the computer.
In contrast, a microphone with an XLR connection can’t convert the analog signal into digital. It would need an audio interface to do so. Just keep in mind that most professional-grade podcasting microphones use XLR connection.
For a solo podcaster that only needs one microphone to record a podcast, get a USB mic. The setup is straightforward, and it delivers excellent audio quality.
The Shure MV7 USB microphone is perfect for a solo podcaster because it offers the flexibility of a dual USB or XLR connection and a built-in headphone output that allows for direct headphone monitoring while recording.
Plus, the audio quality is similar to the legendary Shure SM7B used worldwide in the best radio and podcasting studios.
If you plan to have a setup for multiple guests, get XLR microphones as they are the standard used for connecting them in a mixer.
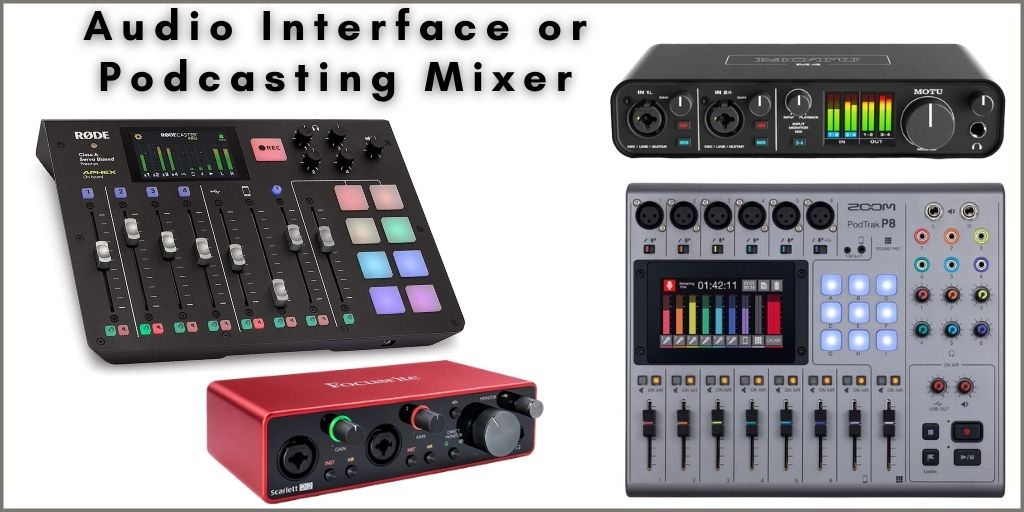
Audio Interface or Podcasting Mixer

The audio interface is only required on your podcast equipment list if your microphones have XLR outputs, and you plan to have several microphones for multiple guests.
However, the audio interface gives you more control over the sound before it hits your recording device. If you are balancing multiple microphones and sources, the audio interface will soon become a necessity.
An audio interface works like a mixing desk, allowing you to channel all your inputs into one port and balance them. They will then go to your computer to be recorded.
There are multiple options available when choosing an audio interface. They all depend on your needs when starting a podcast. The main factor will be the number of inputs needed for your XLR mics.
If you are using two XLR mics, get an audio interface with at least two inputs.
Here is a list of the best audio interfaces depending on your budget. Click the link to check them out.
What about a Podcasting Mixer
Now that podcasts are becoming more popular than ever, companies like Rode and Zoom have introduced all-in-one podcasting mixers to make it even easier to record and edit podcasts.
These podcasting mixers are more advanced audio interfaces offering up to 8 input channels, including a dedicated call-in channel with separate level controls to connect a smartphone for call-in interviews.
You can even connect the mixer to your computer via a USB cable to allow audio feeds from video conferencing platforms such as Zoom, Microsoft Teams, Google Hangouts, GoToMeeting, etc.
To start recording your podcast, all you have to do is connect the microphones and headphones for each presenter, insert a Micro-SD card, and start recording without needing a computer.
With these mixers, you can also mix, adjust tone, record, and some models even allow you to edit the podcast without needing a computer, all with one tool.
What’s more is that they also include programmable touchpads for inserting sound effects, music, commercials, jingles, and more.
We have a dedicated article presenting in-depth reviews of the best mixers for podcasting; click the link to check it out.
Headphones

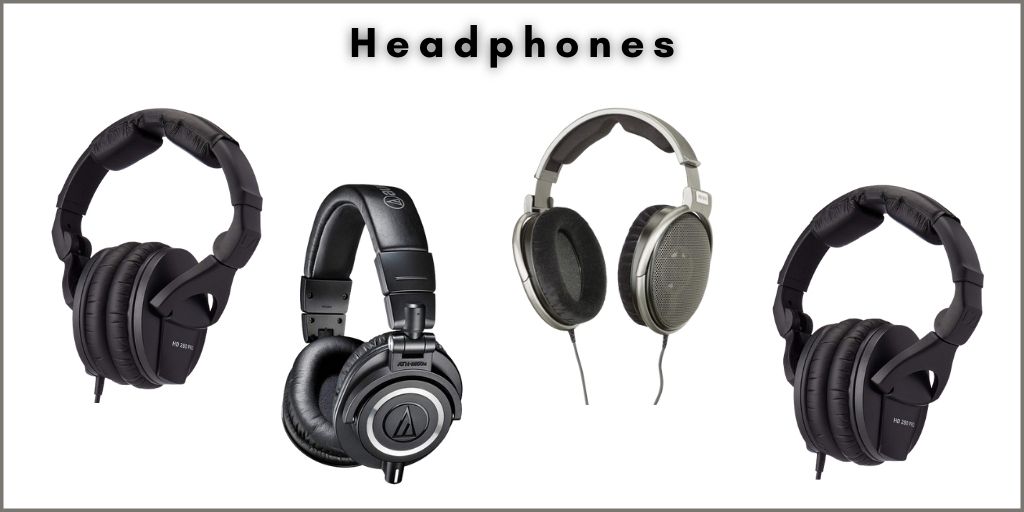
Headphones are an essential item on your podcast equipment list. They can be used for balancing and mixing the sound that is going into your microphones.
As this is the sound that listeners will hear, not the sound you hear in your recording space, you must have a good pair of headphones to give an accurate audio representation.
If you have multiple guests on your podcast, it’s essential to have one headphone per guest. That way, they can hear everyone that’s on the set recording.
Ensure your headphones are comfortable, as you may be wearing them for an extended period of time.
Here is an article that you might find helpful. It presents the best studio headphones for any budget. Any of these choices will make a perfect companion for your podcasting studio.
Finally, remember that headphones will last you a long time, so any money spent on them is an investment.
Broadcast Microphone Stands

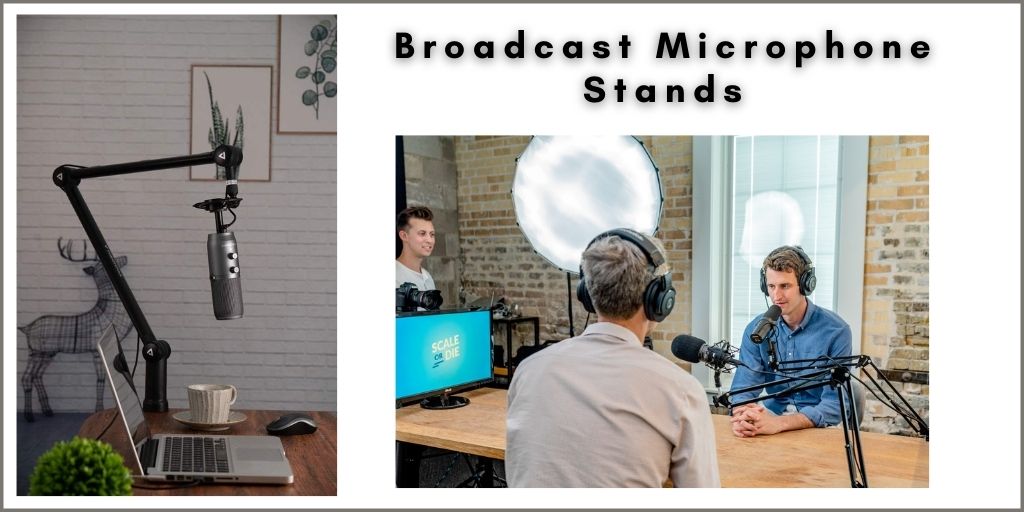
A broadcast stand, often named a boom, is a large adjustable stand that holds a microphone. It allows you to move the device around and hold it in place without tightening or loosen joints. They are often used in professional radio broadcast studios.
The broadcast mic stand offers you a lot more flexibility. It means you do not have to be static when recording, and you can choose to adjust your position as you talk.
It is definitely not an essential item, but one that will provide many comforts if recording for long periods of time.
Handheld Portable Recorder
Handheld recorders are a great option if you are recording on the move. They are battery-powered so that you can remain mobile at all times.
Sound is recorded into a Micro-SD memory card that you can later plug into a computer to remove the files for editing.
Handheld recorders come with built-in microphones, which can be of exceptional quality, depending on the model you buy.
Many also have inputs for XLR and line so that you can add external microphones to them if needed.
Zoom is the go-to recorder for an excellent balance of price and quality. A handheld recorder like the Zoom H4n Pro, Zoom H6, or the Tascam DR-05X are excellent choices.
All of these recorders come with stereo condenser mics to pick up the audio in great detail. Plus, they come with many outstanding features that you can check out here.
Sound Treatments and Proofing
One of the most important things you need other than the equipment is a quiet space for recording. This space must be silent, and you must set it up so that your microphones don’t catch background noise.
If you use sensitive mics, like condensers, you will easily pick up ambient noise like outside traffic, the weather, or someone talking in the next room. This is why it is essential to soundproof the room if necessary.
Even if you have great equipment and manage to find a quiet space, you may still have some audio problems. Your room may echo too much, or you may be getting pops on your microphone from your vocals.
These acoustic problems are quite natural when recording. But you can fix them by using things you have at home or purchasing some items to overcome them.
The Pop Filter
The first is a pop shield. Depending on the mic you have, the pop filter fits over or in front of it, creating a shield between your mouth and the microphone.
This dulls the ‘pop’ sound that occurs from some phonetic vocal sounds. Here are some examples that you can use available at Amazon.
Acoustic Treatment
Finally, to dull your voice’s echo in your recording space, you can use materials like curtains on the walls and carpet or area rugs on the floors.
Another way is to build simple DIY acoustic panels and attach them to the walls to minimize excessive echo. These panels can also be decorative, making it appealing to your audience if you also record a podcast video.
Here is a tutorial I found on YouTube explaining the process for building inexpensive sound-absorbing panels.
If you got extra cash, you could also buy several acoustic soundproofing treatments. These are the absorbing panels used in professional recording studios. They come in various forms, from mic booths that attach to your microphones to wall panels.
Here are some excellent examples of microphone booths with acoustic absorbing material and wall panels that you can get at Amazon.
Microphone Isolation Shield
Wall Panels Acoustic Treatment
Podcast Kits
Several bundled kits are available on how to start a podcast that contains everything you will need in one box. They vary in quality depending on price but may be an option now you know how to start a podcast with the right equipment.
Check out the following links to see a complete list of equipment you need. I have divided it into three bundle list categories: basic, intermediate, and professional.
The basic podcasting bundle list is perfect for a solo podcaster who is starting and only needs the essential equipment.
The intermediate equipment bundle list is tailored for podcasters who usually record their podcast by themselves but have a guest occasionally.
The professional bundle is ideal for podcasters that have three or more guests. It also offers the ability to receive phone calls and online guests on conferencing platforms such as Zoom, Skype, Microsoft Teams, etc.
So now you have the gear, do you need help with the setup? Virtuoso central has several articles on setting up and getting the best audio quality from your equipment. Come to our blog and let us help you with your professional podcast set up!