With people staying inside and unable to go to weddings, parties, and other events, we rely on streaming to show live events and keep in touch with important family members, friends, and business partners.
When livestreaming your content, you want your audio to be at its best, so everyone can hear what’s going on.
It doesn’t matter if it’s your grandma in the nursing home, your boss across the country, or a live event you have tirelessly prepared to share with the world.
In this post, we provide six tips to help you improve your livestream audio for both, conversations and events.
Why Do You Need High-Quality Audio?
There are many reasons why people livestream. They could be creating a following for a social media channel, showing families and friends events they can’t visit, or having day-to-day conversations with the ones we love.
You may think that the most critical aspect of the broadcast is the video, so people see clearly, but don’t forget that audio is the other 50% of the experience.
In a conversation, whether for business or personal, it is essential to convey the information effectively and clearly. That could be the difference between someone understanding your intent or being annoyed by the quality.
Events can be a blur of visuals, and your commentary could be the only thing that lets them understand what’s going on. If you’re building an audience, no one stays connected if they can’t hear what you’re saying.
Audio is just as important as the video aspects of your stream.
If you are preparing to stream a music performance live but don’t know how; click here to read our article explaining the process in more detail.
Tip # 1 – Don’t Use The Internal Mic of Your Computer or Phone
The first tip to avoid using your device’s internal microphone.
Most people, when video conferencing or livestreaming, wonder why the sound quality is so low? One of the reasons is their device’s internal mic.
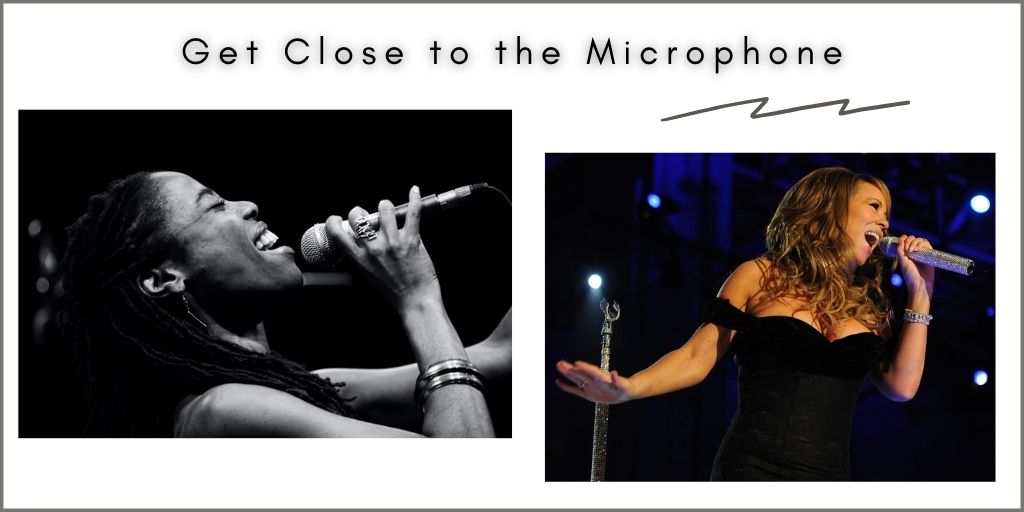
When livestreaming, you’ll want something that brings your voice to the forefront and cancels out the background noise as much as possible.
If it’s an event, do not rely on your phone’s microphone. It isn’t designed to pick up the nuances and details in sound.
For example, if you’re streaming a wedding reception, people watching may not hear clearly due to noise present in the area or because the sound source is too soft.
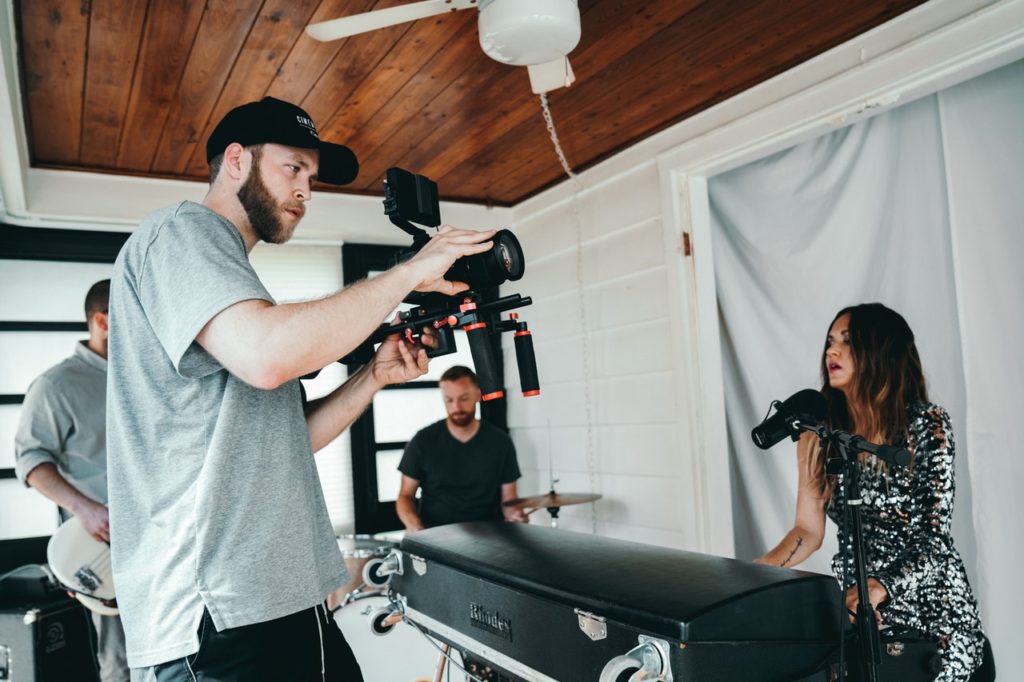
Live events need high-quality audio and video, so using professional video cameras and shotgun microphones to cover the broad spectrum of sounds if necessary.
Tip # 2 – Use the Right Type of Equipment
It is essential to understand that each livestreaming setup will be different depending on what you want to achieve. Here are some examples that can help you define your situation.
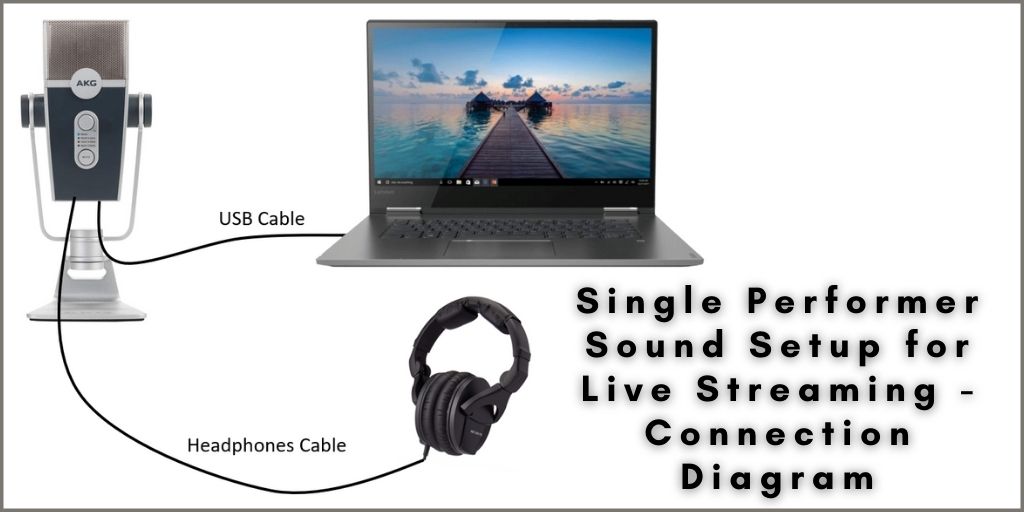
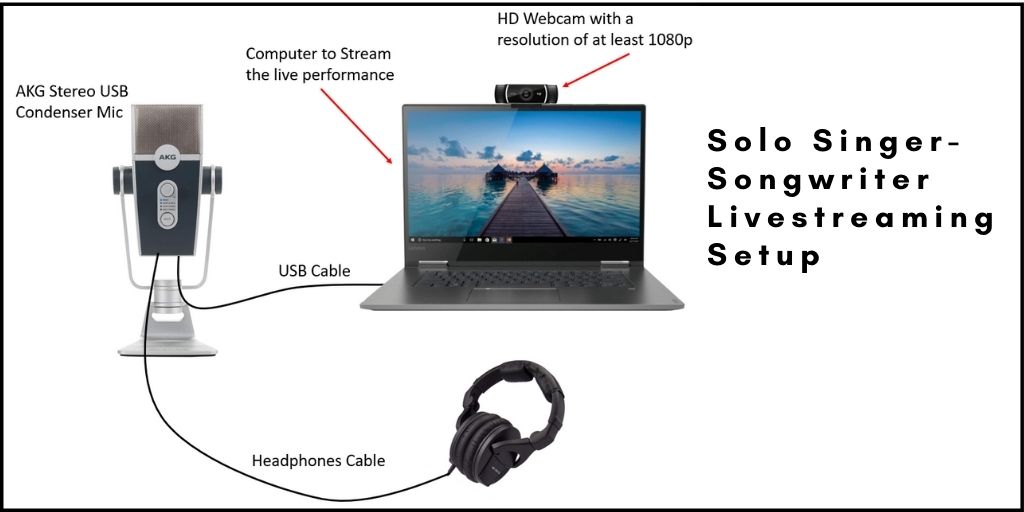
Solo Singer-Songwriter Livestreaming Setup
Suppose you are a solo singer-songwriter who wants to stream a live performance. In that case, all you would need is an HD Camera and a good microphone that can pick up the nuances in your voice and your instrument.
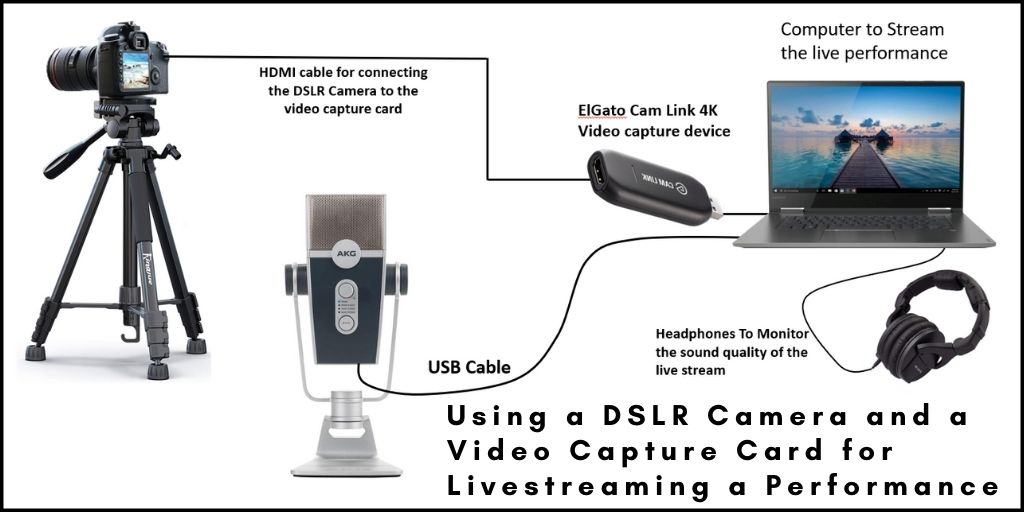
There are different options for capturing the video and audio of your concert for streaming it.
If you use a DSLR camera as your video capture device, you can use a stereo condenser shogun microphone to pick up the sound of your performance in high definition. Then the DSLR camera would connect to a computer and use it to stream your performance.
Suppose you want to use your iPhone for streaming the performance. In that case, you can opt for connecting a stereo condenser microphone directly to the lightning port of your phone.
We have a complete post devoted to explaining how to capture high-quality audio using your iPhone. Click here for the full article.
If you decide to use your computer for streaming, you would need an HD webcam and an external microphone that is capable of picking up sound nuances in great detail.
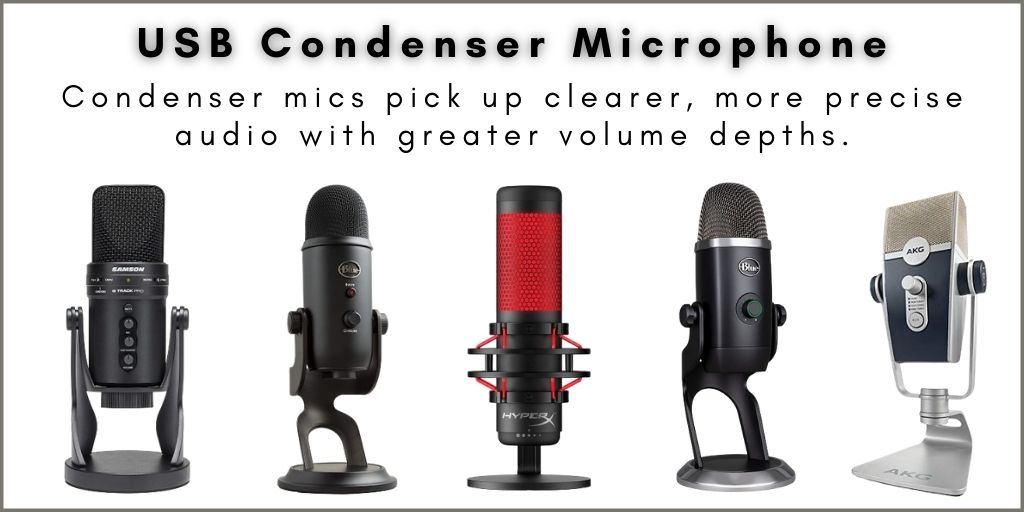
Condenser microphones can deliver high definition audio. If the mic is stereo is much better, because it will deliver sound separation, thus delivering an excellent audio experience to your stream listeners.
Here are a couple of examples of stereo condenser mics that can pick up sound in high definition (links to Amazon):
Setup for Video Conferencing, or Video Calls
Whether you use Zoom, GoToMeeting, Google Meet, or any other video conferencing software, you’ll find that one of the most significant issues isn’t with the software itself but with the poor audio quality users experience.
This is a common issue and can be easily solved. Relying on your computer’s built-in microphone is part of the problem. The solution is to use an external microphone capable of delivering a clean, crisp audio experience.
There are several mics that plug directly into your computer or smartphone and can deliver excellent audio quality for your video conferencing. Here is the list of the best microphones for video conferencing.
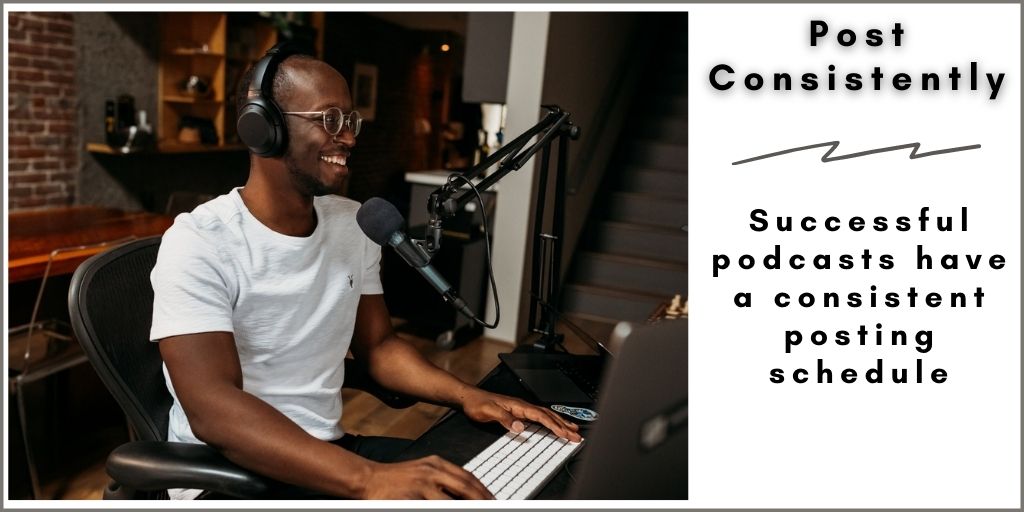
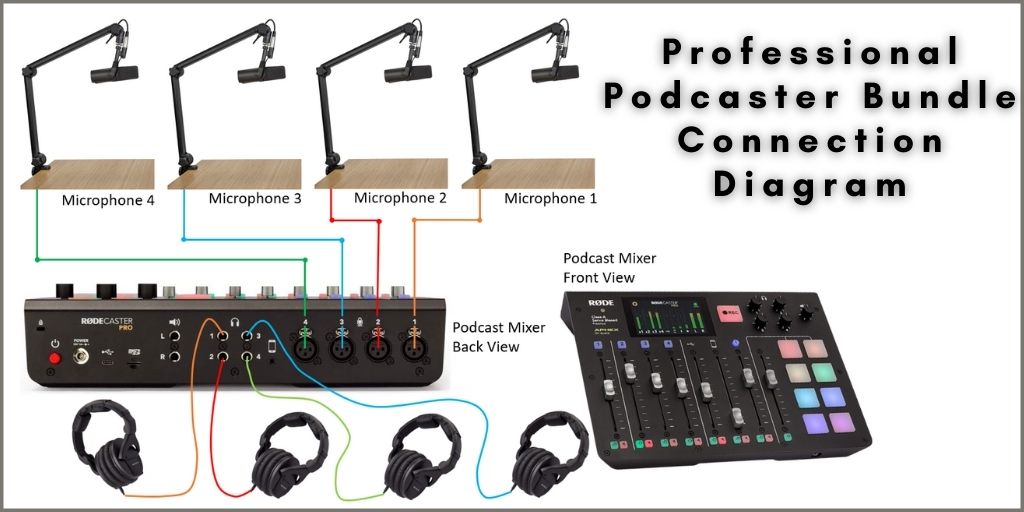
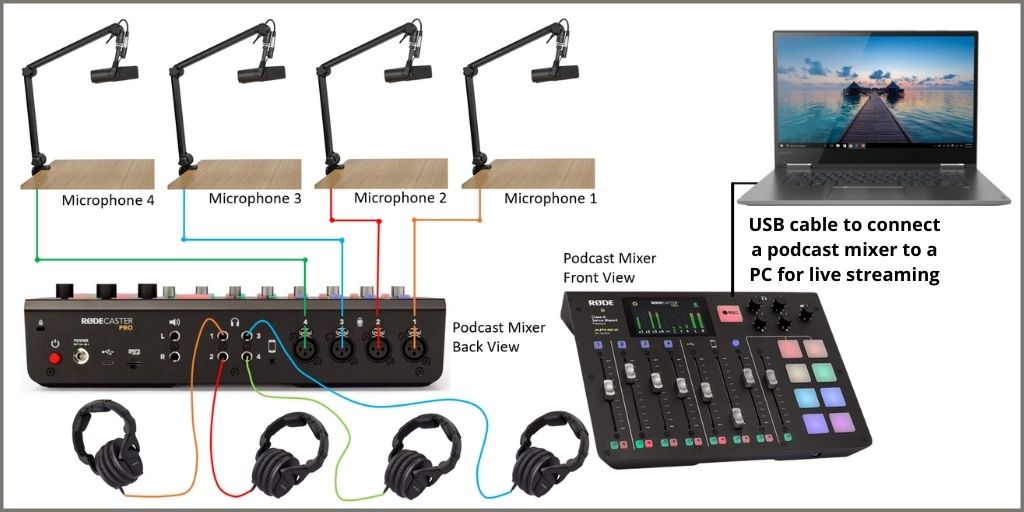
Livestreaming a Podcast
When livestreaming a podcast-style show, depending on your setup, there are different options you can opt for.
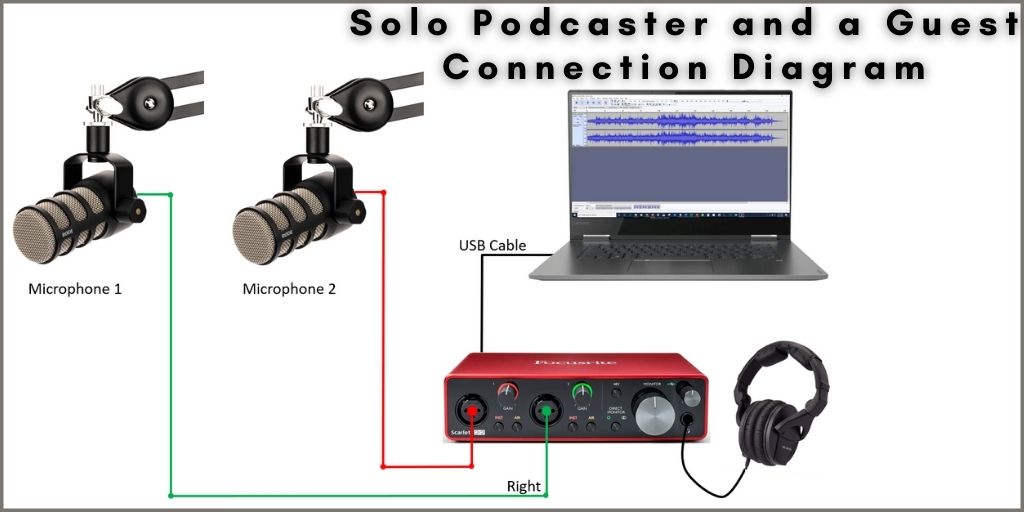
You can use broadcasting style microphones like the Shure SM7B, which is a dynamic mic, or a USB capable mic like the Shure MV7.
Keep in mind that most broadcast-style mics need a stand to set them up correctly. Besides, as they are analog devices, you need an audio interface to connect them to a computer for streaming.
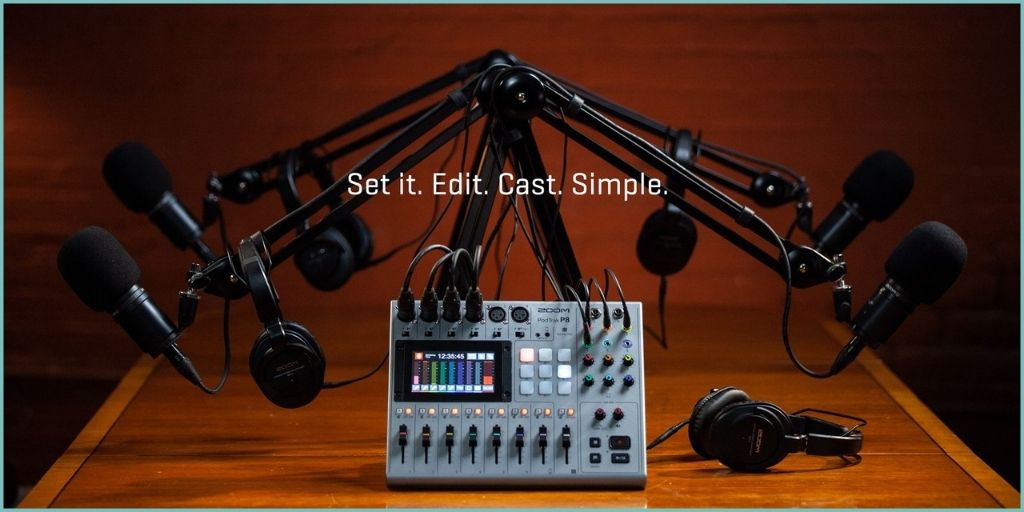
Suppose you have a podcast and plan to start streaming it live. In that case, I recommend reading this article. In it, we present some fantastic mixers specially designed for podcasting that include an option to connect it to a computer for livestreaming the audio straight from the mixer.
Another option is to use lavalier microphones to perfectly capture your voice. They’re not as expensive as other microphone options.
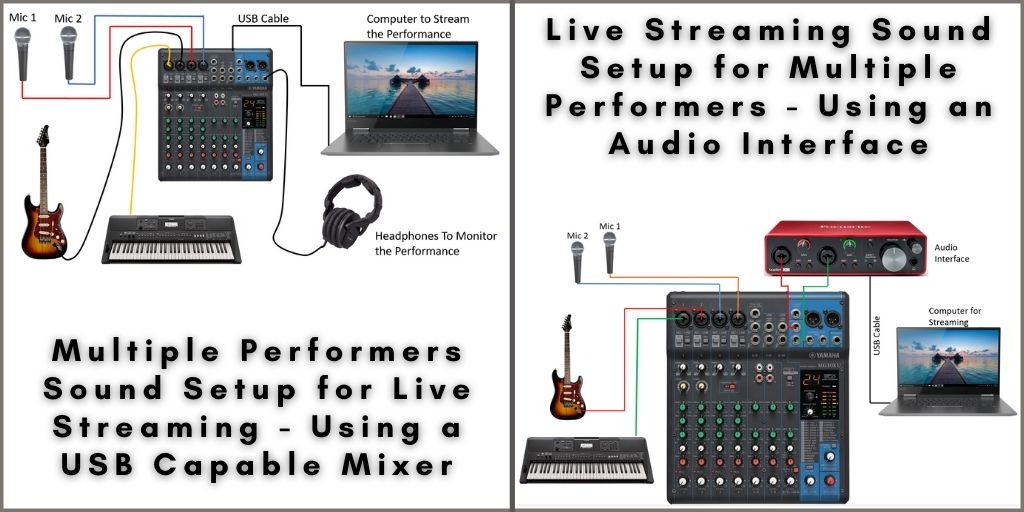
Tip # 3 – Grab the Audio Signal Straight From the Mixing Console
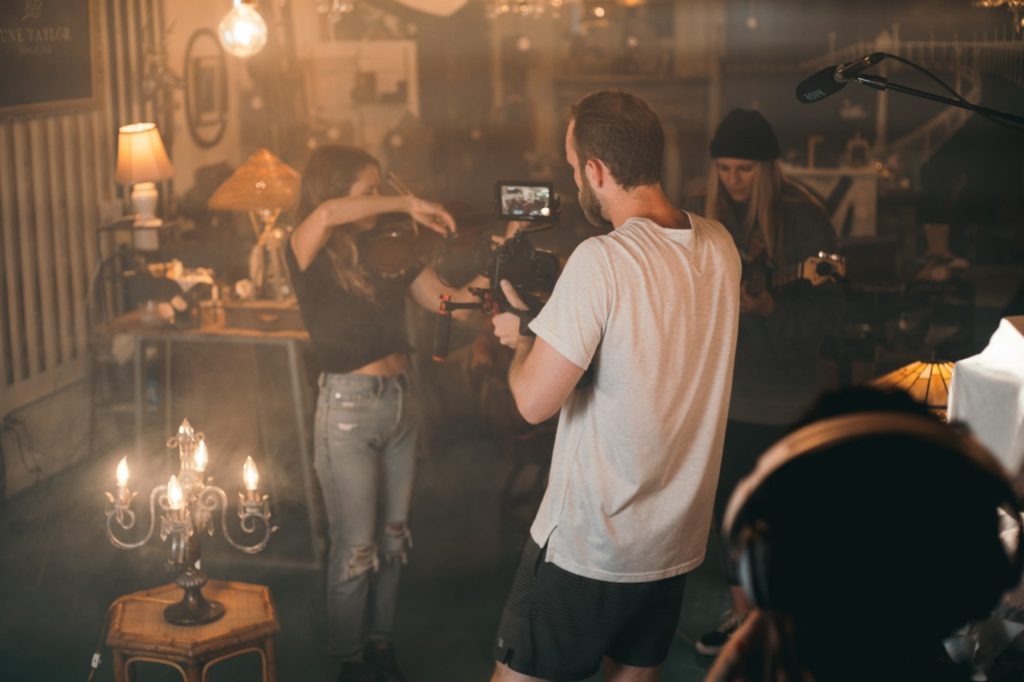
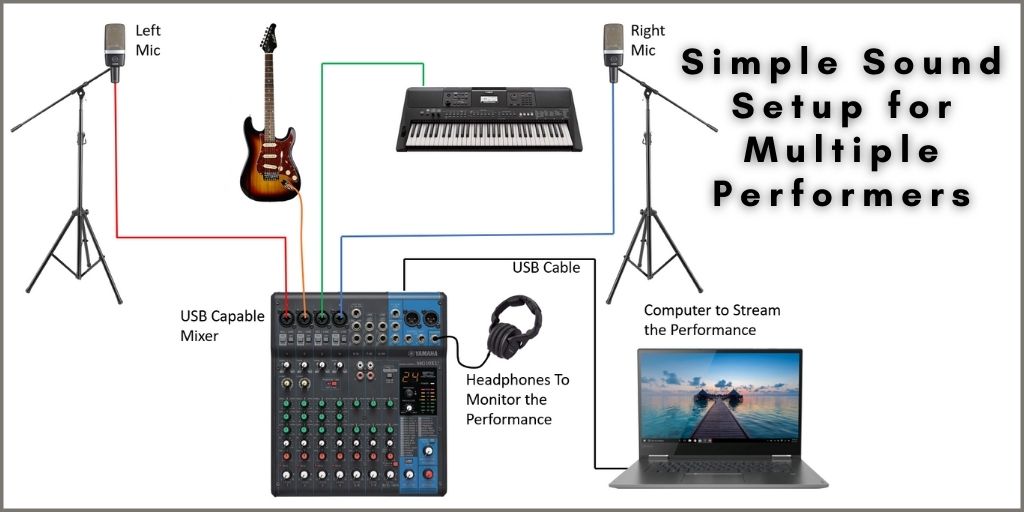
If there are multiple instruments and voices, the most likely option is that there will be a mixing console where all of these signals connect to.
In such a case, your best option for getting the best audio quality for your streaming is to feed an audio signal from the mixer straight to the computer. That way, everything that goes to the main PA system is also captured by the streaming platform.
This method is mostly used when livestreaming church events, live concerts, or band performances.
If connecting the computer straight to a mixer is not possible, your second best option is to use a stereo condenser microphone to pick up the event’s audio in detail.
As mentioned previously, if using a DSLR camera, you need to use a stereo shotgun microphone to get good results. If using your phone instead, make sure to grab a stereo condenser mic that connects straight to the phone’s port.
Tip # 4 – Check Your Audio Before Going Live
No matter what method you plan to use to livestream your content, check both, the video and the audio settings before going live.
You could have the best audio systems around, still, if the sound is not equalized correctly, you won’t have good audio quality.
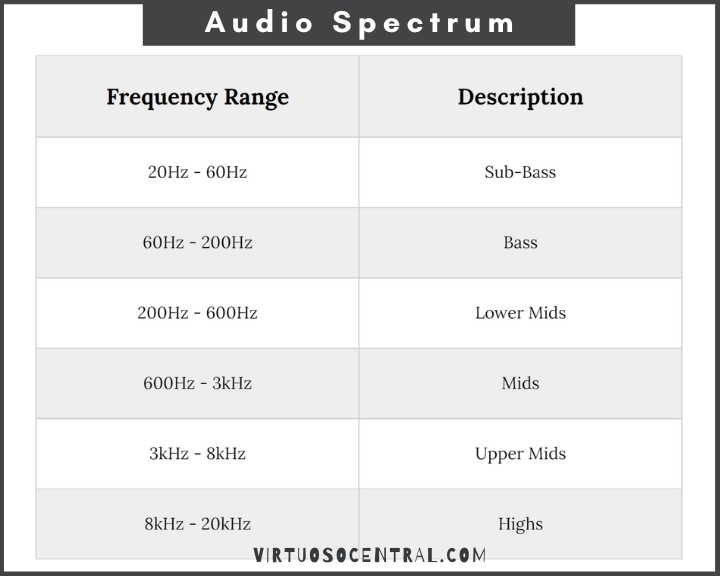
Create a Balanced Sound with the Correct EQ
Spend time before the event or conference checking your audio settings. If you are streaming a large event such as a concert or church worship service, the most likely and best setup for this situation is to get the audio feed straight from the audio mixer.
If that is the case, make sure to perform a soundcheck prior to the event so that you can make the necessary EQ adjustments and ensure that the livestream sounds good.
We have prepared a full article providing excellent tips on how to eq different sound sources for live performance, click here to check it out.
Test Your Sound on Multiple Devices
People stream content on multiple platforms using different types of devices.
Testing how your stream sounds on multiple devices such as computers, smartphones, tablets, and smart TVs before going live can help you catch volume drops or if the sound is distorting.
Testing beforehand also lets you get your audio settings perfect.
Tip # 5 – Use a Wired Ethernet Connection or Reliable Wi-Fi
You only have so much bandwidth, and the quality of the cell network changes depending on the location.
If you’re livestreaming using a cell network, then the audio quality can downgrade if the cell reception is poor or hit a dead spot. It can also impact your video feed as well.
This is why I recommend using a wired ethernet connection whenever possible. That way, you avoid dead spots or sudden changes in internet speeds.
If using a wired connection is not possible, your second best option is to use Wi-Fi. If that’s the case, make sure that the router is reliable.
You should check the upload speeds way before the event starts to have enough time in case changes need to be made.
Another piece of advice is to close any unnecessary programs running in your computer or phone’s background because they can take up bandwidth or resources that can affect the system’s performance and decrease your overall livestreaming quality.
Tip # 6 – Hire Professionals to Take Care of the Livestream if You Are Not Sure You Can Handle It
Something like a wedding is a once of a lifetime event, so you want to make sure everyone that isn’t present can see and hear the event as if they were present.
You could have some friends do it all for you or let the venue handle it, but if they don’t have the expertise, you have to make sure to hire a professional so that your event is streamed without any problems.
A professional that handles the sound system or someone who carries a boom microphone and changes settings on the fly can make sure nothing goes wrong while streaming the event.
They hear everything as it happens, so if there is sudden background noise or interference, they can make the necessary changes on the fly.
You don’t want to hear after your wedding is finished that no one listened to the best man’s speech or the vows were garbled during the ceremony.
Handling the audio during a livestream event can be tricky. Professionals can keep these failures from happening and let you enjoy your special day or event.
Have the Best Audio Quality for your Event or Conversation
We hope these tips help make your stream sound perfect for everyone involved. These are guaranteed ways to improve the quality of your livestream, so follow them when you’re ready for your stream.
If you’re interested in learning more about this topic or about audio equipment, check our other articles.