Are you looking to record a podcast but unsure of how to do so remotely. Maybe you have guests that you want to invite on the show that live far away. Perhaps you want to start one with your friend(s) who live in another state.
Whatever the case might be, you can still achieve the podcast of your dreams by learning how to record a podcast remotely. Doing so can help you make episodes that your listeners will love without sacrificing the quality.
In this post, we present five tips you’ll want to consider when starting a podcast or running one through these unprecedented times.
Tip # 1 – Use the Double-Ender Method For Remote Podcast Recording
The double-ender is hands down one of the best ways to record a remote podcast. You’ll get the absolute best audio quality and have full control over the entire process.
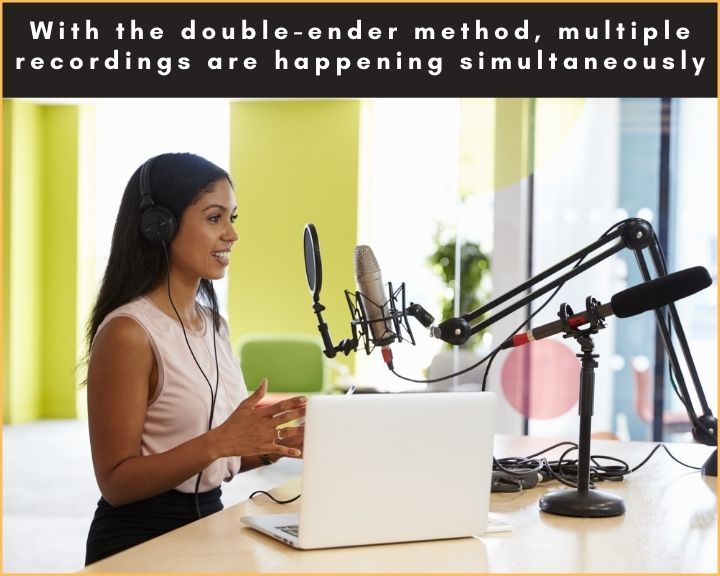
This is a method where every participant in the podcast episode records their audio on their software or recording device. In other words, multiple recordings are happening simultaneously on each end of the call.
After the podcast, everyone sends in their audio file, and all the conversations are stitched together, edited and mixed. This allows for the cleanest, most professional recording possible.
All you need is a recording software such as Adobe Audition, Quick Time, or Audacity, and a platform like Skype or Zoom to connect with the other participants.
Using the double-ender method avoids unwanted background noises. It prevents connectivity issues and audio compressions you might get from over the internet connections.
While this method is pretty labor-intensive because an editor will have to line up clips and transfer files, you end up with the highest quality recording because all participants record directly into their software or recording devices.

Planning Stages for Recording a Podcast From Two Different Locations
Here’s what you need to get started:
- Zoom or Skype to communicate with each other
- QuickTime or Audacity to record your conversations
- An external microphone – Highly recommended
Instructions for Hosts
- Connect the external USB microphone and headphones. If you don’t have an external mic, you can also use a headset with a microphone
- Open your favorite recording software (Audacity, QuickTime, etc.)
- Open Zoom
- Start recording
- Count 3, 2, 1, and clap at the same time as your guest. The clap serves as an audio marker to help in syncing up tracks when editing. Make sure to allow a couple of seconds after the clap as a buffer to help when editing the audio file
- Start the conversation.
Instructions for Guests
- Ensure you have at least 3Gb of free space in your computer to record the interview
- Ask your guest if they have an external USB microphone they can use. If that’s not possible, they can also use earbuds with a microphone.
- Open QuickTime or any recording software they are comfortable using
- Open Zoom and ensure the earbuds are correctly hooked up to the computer
- Start recording
- Before beginning the interview, the guest should countdown 3, 2, 1 at the same time as the host and clap to create an audio marker
Recording a Double-Ender Using Zoom and QuickTime
- Open QuickTime on your computer
- Choose “File” and click “New Audio Recording.”
- To adjust the recording settings, click the drop-down arrow on the right side of the record button. After that, choose the corresponding audio device you are using. If a USB mic or earbuds with a mic is being used for the recording, click “high” to select the recording quality
- Reduce volume level to zero (to the left)
- Start your recording by clicking the “Record” button
- Click it again to stop your recording
Once both you and your guest are done recording, have your guest send in their file.
Here’s how to do it:
Go to “File,” click “Export,” then choose “Audio only” and export the file to your desktop.
We usually recommend WeTransfer, DropBox, or Google Drive to send files. They are quick, easy, and convenient.
Using The Zencastr Platform for Remote Podcast Recording – The Best Remote Recording Option
Zencastr is the best browser-based recording platform that allows you to record high-quality audio on a web browser.
Separate tracks are recorded for every guest, meaning there are no audio losses or dropouts due to poor internet connection, as is the case with Skype.
On the technical side of things, the audio is recorded in lossless 16-bit, 44.1k WAV resulting in the best possible audio quality. And because this platform uses its built-in VoIP service, you do not need to use Zoom or Skype because both voice and text chats are available.
Besides, Zencastr has excellent postproduction features for merging and editing separate tracks into one file.
What’s more? You can automatically upload your files to Dropbox and Google Drive directly. Even more intriguing is the live editing soundboard that lets you insert intros and outros as you record.
Using a platform like Zencastr takes all the stress away from the host and guest. I say this because if the person you are planning to interview remotely is not tech-savvy, you won’t know if their setup is correct. What’s more, you won’t even know if the interview on their side is being recorded.
With Zencastr all you do is send an invitation link, and the host controls the tech side of things. All the guest has to do is connect their earbuds with a mic, accept the invitation and that’s it.
They have launched Hi-Fi video recording on the same platform. The best part is that the guests don’t have to install anything, all they have to do is have a webcam connected to the computer, and the host takes care of the rest.
Zencastr Pricing
With regards to pricing, there are two tiers available to choose from: free and professional. The free tier allows you to invite only two guests at a time and offers up to 8 hours of recordings a month. You also get high-quality MP3 recordings and paid postproductions.
The professional tier goes for $18 a month when billed annually and $20 when billed monthly. It gives you unlimited recording hours with as many guests as you want. It also delivers high-quality lossless WAV files, a live editing soundboard, and 10 hours of automatic postproduction per month.
Here’s a step-by-step process of how to record a remote interview using Zencastr
Recording a remote interview using Zencastr is simple and straightforward.
- Log in and create an account. Only the host needs to open an account, but none of the guests need to do that.
- At the top, you’ll see the Create New Recording button. Click on it to create a new episode. A pop up will ask you to name the episode. Give your episode a name.
- Next, your browser will ask you to confirm access to a microphone. You’ll have to confirm this; otherwise, it will not let you into the session.
- Once you do that, you’ll have access to your recording space. Be sure to check the Settings Gear at the top right corner to verify that your audio input and output devices are working correctly.
- When you’re all set, hit the Invite button to send a pop-up link to your guests so they can join you.
- Once your guests join, all they have to do is write their names. Nothing more. Their dashboard will look just like yours.
For the best audio quality, ask your guests if they have an external microphone. If they don’t, they can use their earbuds with a mic for the recording.
- Now hit the Record button. Only the host can do this, and not the guests. Voila, you’re live. Start your interview.
- At the end of the interview, click the Stop Recording button. Keep in mind that it’s only the host that can click the recording buttons.
- Edit the podcast as needed, and that’s it.
Alternative Options for Recording a Remote Podcast
Using Google Voice
Google Voice is yet another great way to record a remote interview. You only need the app and your smartphone or computer. It’s completely free. Keep in mind that this option is only available in the US and a few other countries.
If you want to record a phone conversation with a guest and bypass third-party software, Google Voice is your best bet. However, recording off your phone is not recommended.
For you to get high-quality audio, you need to use your computer and an external recording device. Google does not record calls by default. You need to enable call recording.
Here’s how to do it:
- Log in to your online Google Voice account
- Click on the Gear icon at the top right corner. It will give you a drop-down menu
- Select Settings from the menu
- Choose Call Options and enable recording before making a phone call
- To access your recorded files, click on the Recorded menu on the left. It will display all your recorded files
- You can play your file, download it to your computer or send it by email to someone
- Calls are not saved on your computer or cellphone but on Google’s servers
Note: Calls made in the U.S. and Canada are free of charge if you have a Gmail account. International calls are charged at low rates. Keep in mind that prices are not dependent on the country you’re calling to, but the country you’re calling from.
Tip # 2 – Grab Essential Equipment
The great thing about podcasts is that you get the opportunity to create a show that’s entirely your own. You can include anyone that you want, say anything you want, talk about whatever you want, and so on.
Many podcasters take a tremendous time to build their brand but forget about one crucial aspect: sound clarity.
Put yourself in the shoes of your future listeners: would you listen to a podcast with bad quality? Would you enjoy listening to someone that sounds like they’re talking out of a phone? Probably not.
Even if you are talking to your guests/co-hosts over a Skype or phone call, you can use separate equipment to make the episode sound like you’re in the same room.
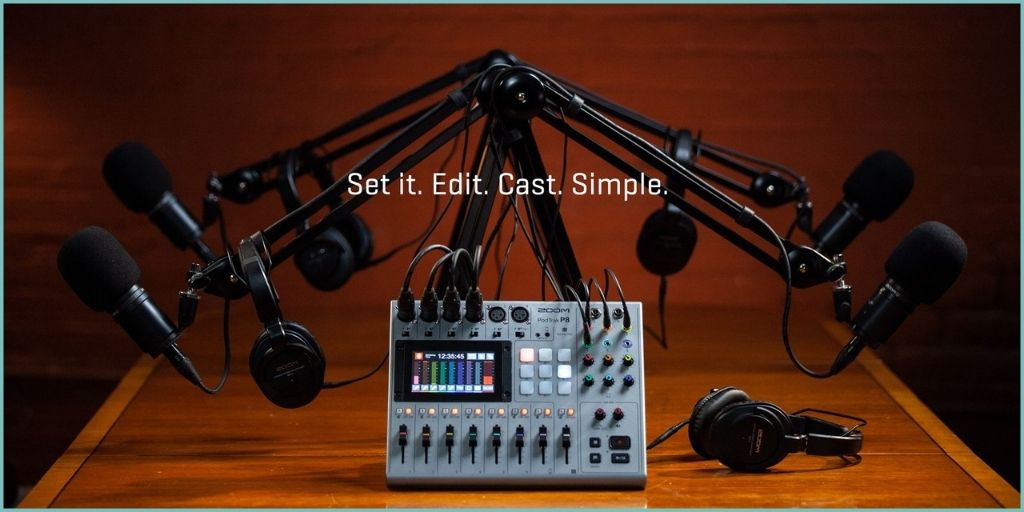
Be sure to have a good quality USB-microphone, headphones, and laptop/desktop (if you don’t currently have one). These are all one-time expenses, making your podcast cost-efficient.
We have an entire article dedicated to the essential equipment you need to get started podcasting.
To save money, you can also use free services like Slack for communicating with your co-hosts and Zoom for getting all of your hosts and guests in one place. It makes for a tremendous result that your listeners will enjoy hearing.

Tip # 3 – Set Definitive Dates
One of the most challenging aspects of recording a podcast remotely is getting everyone to sit down at one point in time to record. The more people you have, the harder it will be to pull off.
To prevent complications, there are two things you need to prioritize:
- Set definitive dates
- Overcommunicate with your co-hosts and guests
As previously mentioned, be sure to use an app such as Slack to ensure everyone is on the same page.
Post constant reminders and make sure to double-check everyone’s availability at least two days before recording.
It’s essential that your podcast posts frequent content. To make that happen, everyone needs to accommodate a consistent recording schedule.
Tip # 4 – Delegate Tasks
One of the biggest perks of having multiple people involved in a podcast is delegating specific tasks.
For example, say you run your podcast with two other co-hosts. One person can be in charge of editing the recording and running your podcast hosting platform. Another person can run the social media digital marketing, and the third can contact possible guests.
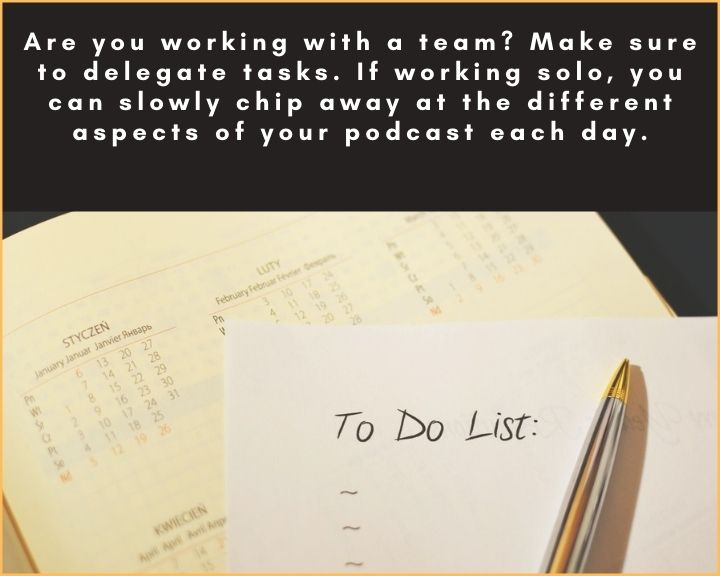
If you’re flying solo, then have no fear! You can slowly chip away at the different aspects of your podcast each day. Record on Monday, have the episode edited by Wednesday night, and schedule it to be posted on Thursday or Friday.
When recording a podcast with remote guests using the double-ender method, be sure to have them send their audio file as soon as you’re finished recording. That way, it’s available to you whenever you sit down to edit the episode.

Tip # 5 – Compile a Guest Dream List
Many podcasters will tell you that one of the biggest struggles you’ll face is running out of content to talk about. Everyone hits a wall at one point or another in their podcasting. They either run out of topic ideas, run out of guests to invite on the show, etc.
The only way to prevent this problem is by being proactive instead of reactive by creating a dream list of guests you’d like to have on your show. This will naturally lend topics that your episodes can cover.
For example, the Podcast Read to Lead is about reviewing books and getting behind the author’s brain. As part of that, Jeff Brown (the host) interviews an author of a new book each week, in which they discuss the book at length and how it applies to the listener’s life.
Start thinking about the people you’d want to have as guests on your podcast one day. Make sure to make a list of famous and not-famous people. Don’t stop until you’ve created a list of 100 people.
Choose 20 of them from your list that will be easiest for you to reach out to. Start to invite them to your show!
How to Record a Podcast Remotely: Your Equipment is the Secret Sauce
Remote interviews have become a fact of life for every podcaster, and in the wake of Covid-19, more so than ever. Because we rarely get a do-over when it comes to interviews, getting the recording right the first time is very important.
Now that you have seen several steps on recording a podcast remotely be sure to use these tips to your advantage.
Make sure to read this article for more information on how to grow your podcast audience and establishing a firm following in no time at all.
For more interesting articles, please browse our website.